
I'd like to present to you The Brioche Sweater, knit from scratch by a friend of mine. If you exclude small swatches (one must figure out the knit stitch before knitting a gauge swatch, of course, and a gauge swatch is mandatory when you're not following anything resembling a printed pattern), this is her First Knitting Project. She's never knit a scarf. She's never knit socks (although those are starting to call to her). Her daughter just had a sweater that was beginning to wear out, and she thought she'd learn to knit so she could make a replacement.
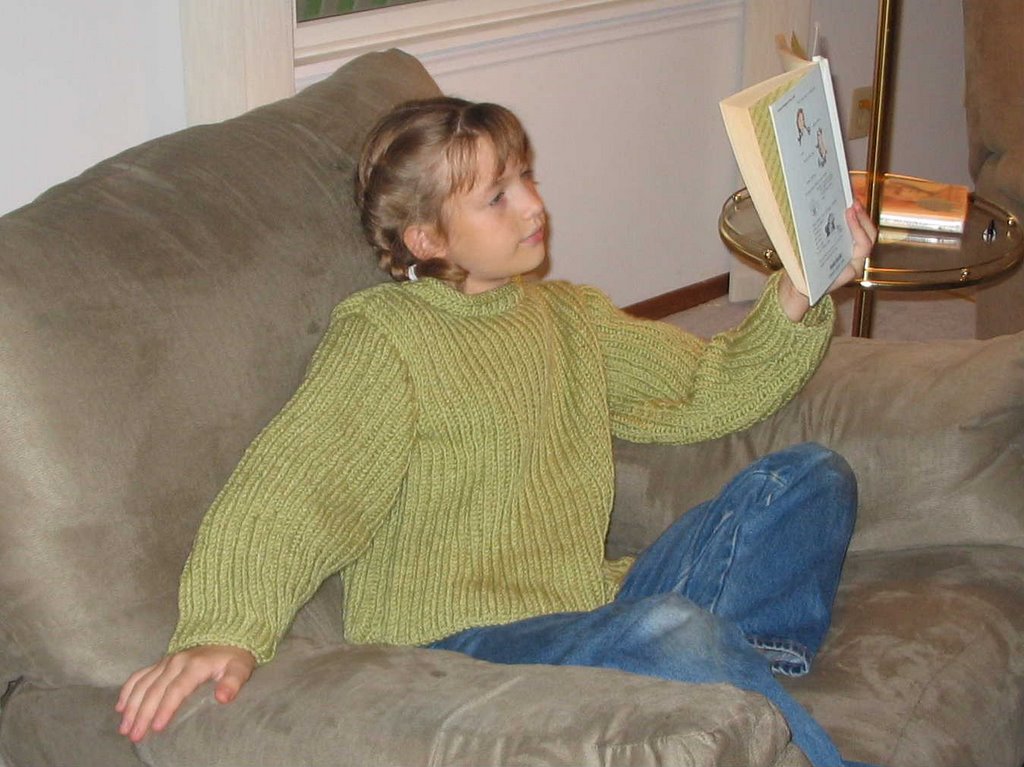
When you have a friend (me) who doesn't know the meaning of 'learning curve' or 'hard' , those are dangerous sentiments to have. I sicced a beginning knitter on Brioche Stitch, and with the help of the Interweave Knits article on Brioche, and the Knitter's Handy Guide to Sweater Pattens, and a bit of fudging, we recreated the sweater. Of course, this is just a sample sweater, to make sure it would turn out, and to get the hang of the stitch It's not the right color at all -- the ideal color is Chartreuse, like the new dye KnitPicks offers. Except that dyed the yarn kelly green. How annoying. I haven't pointed out to her yet how felicitious it was that she dyed the yarn FIRST, rather than knit up the sweater and then dye the garment. That would have been a sad day in the annals of her life.
She's still speaking to me, and I'm hoping to talk her into making a pair of socks next. After Brioche double-decreases and double-increases, what troubles can sock heels on double pointed needles be?
If you lived in Minnesota, Denise, see what you could do?
Now, for my Infomercial on the figure eight cast on. The focus isn't the greatest on some of the photos, but I hope they serve their purpose.
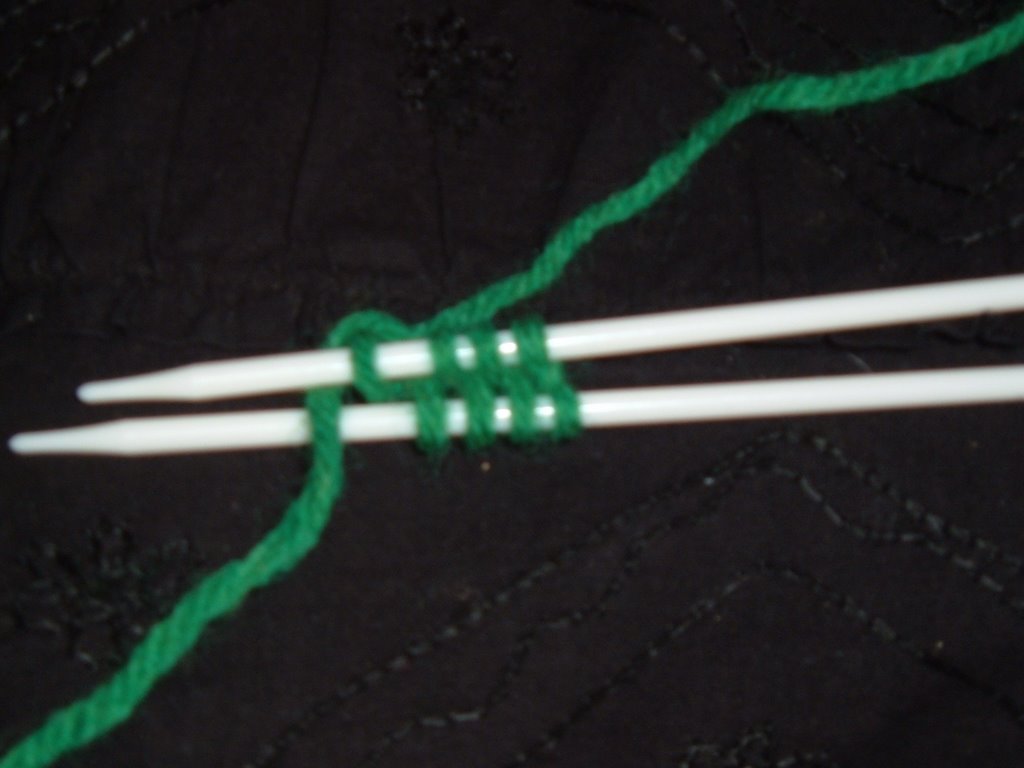
Start with two double pointed needles. Somewhat pointy, light, and not too slippery are ideal. Wrap the yarn around them in a figure 8 form.

In the photo above, I've cast on 8 stitches. Four on the upper needle, and four on the lower needle. The next step is to, with a 3rd (and possibly 3rd and 4th dpn, depending on your preference and the number of stitches) to knit across the stitches on the upper needle. Observe that the last stitch formed is on the lower needle? This is important. If you were to try and knit across the stitches on the lower needle, you'd have an odd first stitch.
Above, you have the result of knitting across one needle. I usually cast on 24 stitches or so for socks - 12 on each needle - and knit six stitches onto one dpn, and the next six onto another. But with just four stitches? I forgot to change needles.
Next, you'll turn your work so that the lower needle is on top (you're knitting in the round, remember?) and knit across those stitches. Here's me in the middle of a row.

You see that I'm knitting into the back of the stitch? That's because , due to the my wrapping, the 'leading edge' of the stitch is in the back. I suppose it's possible to wrap the needles so that the first needle you knit across has stitches with the leading edge in the back. Wherever you find them, knit those stitches into the back, so that there isn't a row of twisted stitches in your project.
How do you know which edge is the leading edge? Look carefully, and you'll see that the yarn which comes down from the top of the needle and heads over to the stitch you just knit into forms the leading edge of the stitch. In typical American knitting, if there is such a thing any more, the leading edge is in front. In Eastern knitting, it's in the back. In combined knitting, it varies. If you find all this confusing, simply knit the stitch however you need to so that it's not twisted.
After I knit around my cast on once, I start increasing. For this project (and for most all my projects of this sort) I use a bar increase. For socks, I like increasing at each side of the foot -- so I k1 p1 into the last stitch on one needle, and repeat that in the first stitch on the next needle - at the edges. If you number the needles '1 2 3 4' , then I'd increase at the end of 4, the beginning of 1, the end of 2, and the beginning of 3. And then *knit around plain, and then do another increase round, and repeat from * until I had however many stitches I wanted. For the mitten thumb, I increased every round.
 and then knit round and round on 16 stitches until I had a thumb-looking object.
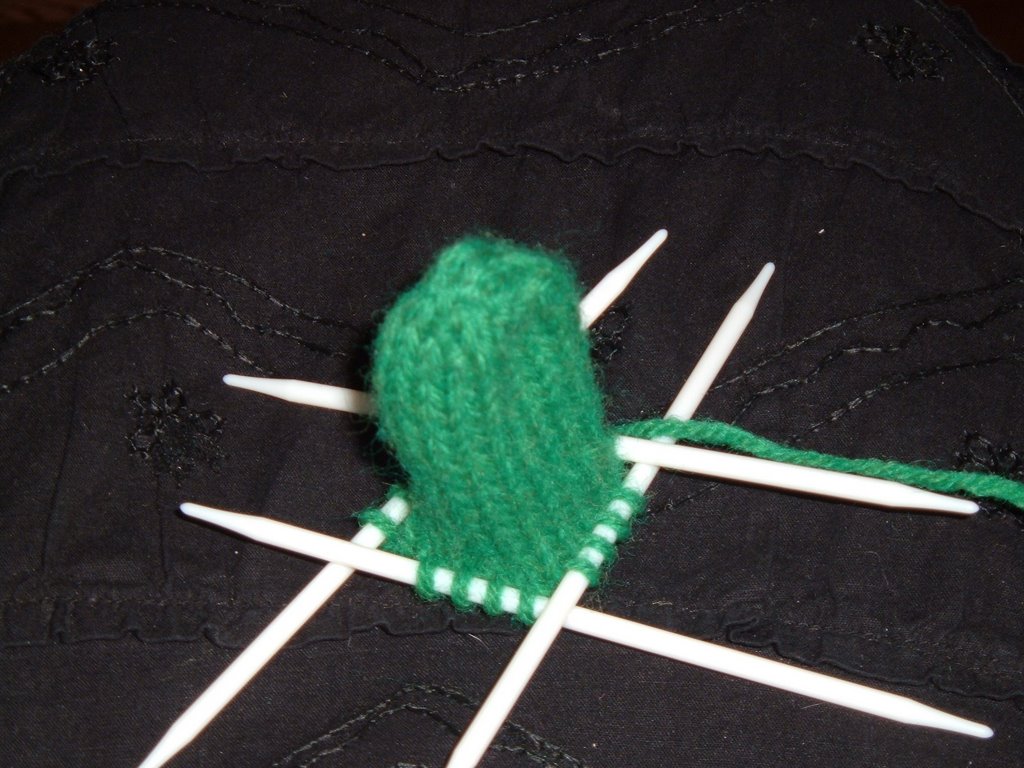
It's fun to make thumbs this way, if you have the recipient's hand handy, because there is No Way you can make it too short. If you look in the photo of my cast on, you'll see a spare mitten thumb, just sitting on waste yarn, waiting to be incorporated into a mitten. You can try the thumb on as much as you want. Unlike feet going into socks, your thumb is almost guaranteed not to break any wooden dpns if you try on a thumb in progress.
And at this point in the project, I left my camera behind and simply knitted.
1 comment:
Oooh! A new knitter is born!
I'll be referring back to this when I start a toe up....maybe in Jan...too many other planned projects before then.
Post a Comment